
Using LUT packs
Desktop app guide
The full guide for "LUT library" in the LmBox Bridge desktop app is LUT library. This page focuses on pack activation and the early LmBox Bridge toolbar.
TIP
Activate and switch to the pack before you use it. How: Activate or switch packs
Overview
LUT filters: most post-production people keep their own preset library. A local .cube file cannot be previewed directly, and Premiere Pro cannot preview the current look either. This tool turns your local LUT files into thumbnails, so they are easy to manage, create and use.
LUT tool buttons
This is the default view, with all the function buttons.
The LUT shelf in detail
- Apply the LUT preset directly on the selected clip
- Creates a new adjustment layer from the selected LUT and applies the LUT preset to it.
- Turn the before / after comparison of the preview on or off. The split percentage is set in the settings panel.
- Use a look preset when grading in Pr. This is a toggle button.
- Set the strength of the look preset. After you set it, the item can be imported to the Pr timeline in sync.
- If you want a live preview or to pull a preview picture, use one-click capture as the effect preview.
- Clear the look preset on the selected clip. What gets cleared depends on whether is on or off.
The buttons below are shared :
- View your favorite items.
- Adjust the preview volume (if any).
- Switch packs, install packs and view the user status.
Home screen
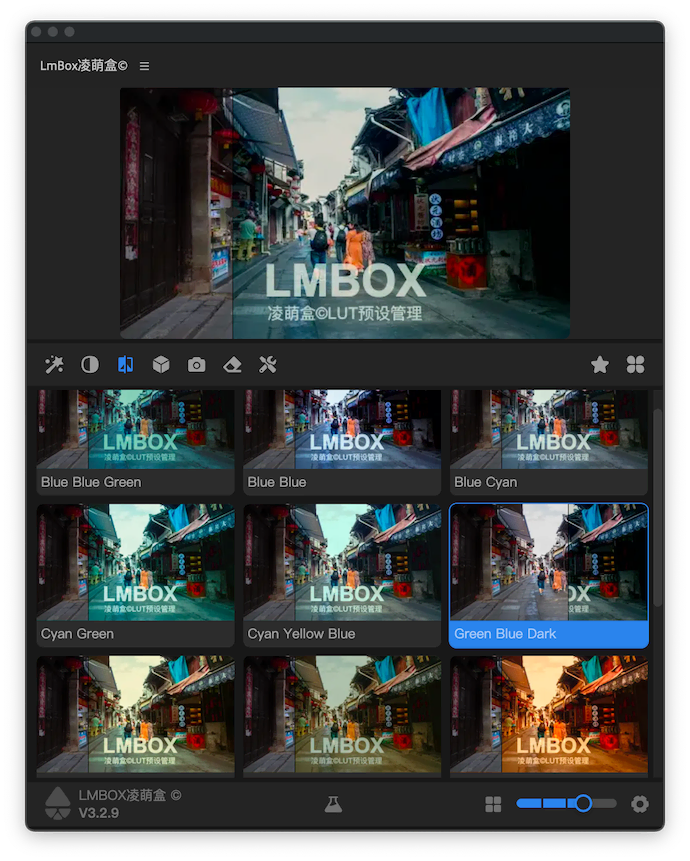
Import a LUT
Note
You need a valid timeline sequence or composition, and it must be selected, before you can import.
- Double-click the spectrum preview in the list to import quickly.
- Or select a preview and click the Import button on the shelf.
- To replace a sound effect already on the timeline, select the one to be replaced, then double-click in the extension list or click the Replace button.